dinsdag 19 maart 2013

Finishing up: Old GW mummy

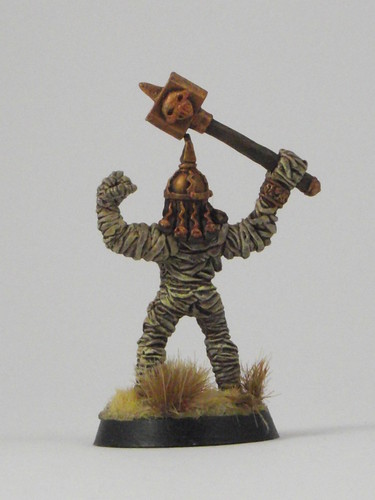
And here is another Finishing Up mini. A old GW mummy model. Once got it for my Tomb Kings, but I didn't think it fit. It is a perfectly recognizable model for a good Pathfinder session though!

vrijdag 15 maart 2013

Even more devils

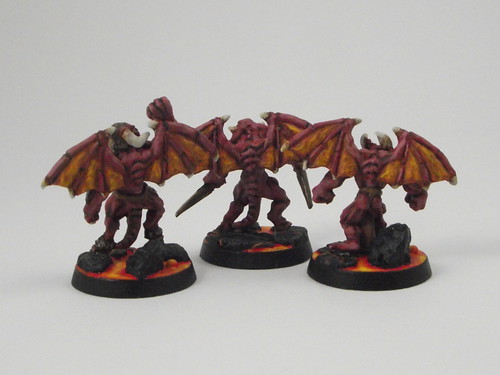
So after the bone and barbed devil it was time for ... more devils! This time it is three unidentified little buggers. I am starting to notice a white, green, red, color scheme going on here. These are from Reaper: Blood Imps.

That is the last of the devils for a while. More devils once the Reaper kickstarter comes in. I did get nice big lava bases to base that inevitable pit fiend.

The new devils
And a group shot!

donderdag 14 maart 2013

Finishing up: Caveman

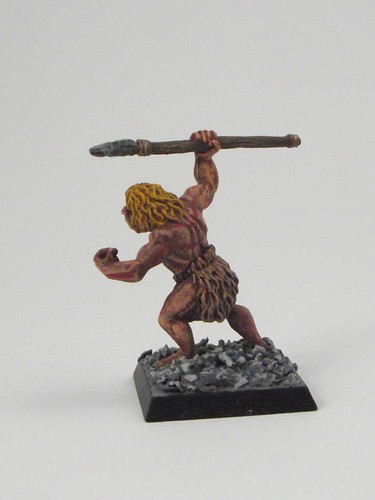
I have this bunch of miniatures which are partly painted. I intend to finish them all... someday. This is the first of those miniatures. This is one caveman from a pack of four from Reaper Miniatures. I had already finished two of them a long time ago (over a year), and this one only needed hair and some fur. Easy peasy.

Behold the result!

zondag 10 maart 2013

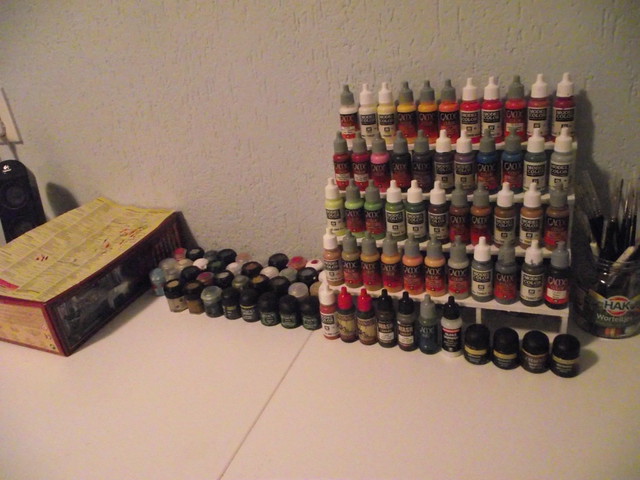
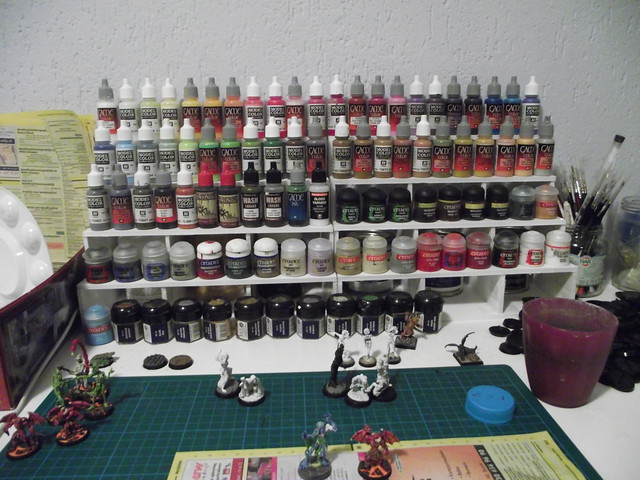
DIY: Rack two: The Rack-oning

Now I have two! Muahaha! *goes out to buy more model color*

Total cost: 3E a rack

(This is a continuation of the DIY: Low budget paint rack post)

woensdag 27 februari 2013

Barbed devils

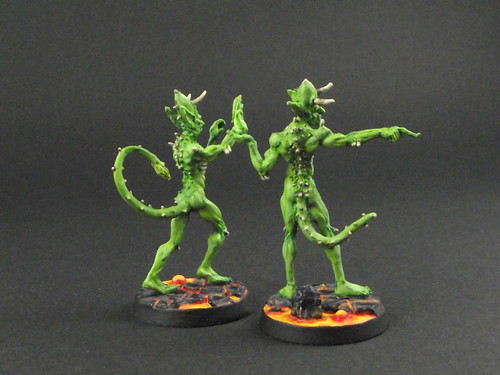
Here are two barbed devils I finished off recently. They are less saturated green in real life, but somehow I was unable to fix it on the pictures. I shall endeavor to do better next time!

For now: Barbed devils!


maandag 25 februari 2013

Scrutiny: Micro Art bases

Ha I am back from being sick for over a week. That was one seriously nasty fever.

After the disappointment that was the TK-PRO bases a few weeks ago my girl decided she needed a nice jungle base for a PC monkey of hers. This gave me the option to order 'a few extra' bases as she ordered from Micro Art Studio.

I decided to go with 2 packs of 25mm forest bases, a pack of 40mm and both of the 60mm designs. I have a lot of Reaper Bones coming after all. As the bases arrived I was happily surprised. Not only did the order go through rapidly, the shipping was also very fast. Before you knew it I had the bases in hand. Good stuff, extra points. This might have to do with the fact they are based in Poland, so non-european buyers should expect longer delivery times.

Let's talk about the 'bad' things first. On their site it does say that they will select five bases at random when you order some. It is unfortunate that what they mean is they grab a package of 5 pre-selected bases. I happened to get the exact same package twice. It would not have hurt that much to select two different packages. This does not matter to me all that much, but I figured I'd mention it.

The second 'bad' thing is that they are not cheap. You pay 4,92E per package + shipping. I want my miniatures to look good and I do not want to spend forever on the basing, so this is worth it to me. And they do deliver on that quality.

So on to the good. There is a lot of good! Their bases are just the most detailed I have ever seen.


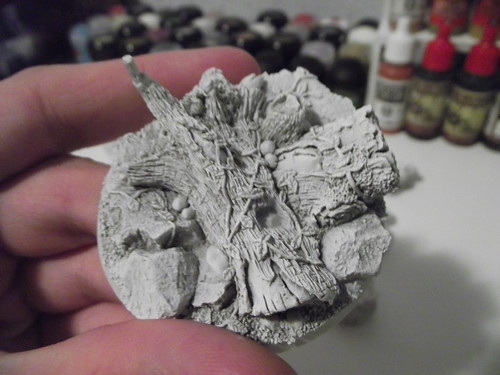
 Primed forest bases

 That is just nuts. These beauties will take as long to paint as the miniature to be used with them. Very impressive quality indeed. Even better the casts are a very durable resin and they have already sanded the bottoms for you so they are perfectly balanced and straight. This is a real big plus, the mark of quality.

It also happened to be my birthday a week or two ago and the people at my job gifted me some of the Micro Art wood bases. Once again I was impressed by the quality and decided to immediately paint one of them.

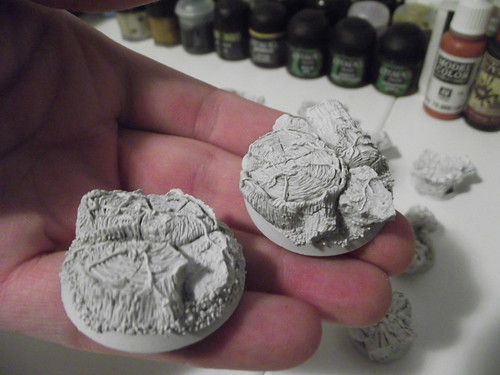
Top left: Micro Art base, Top right: Ironhalo cobblestone base
Bottom: Wooden base, mainly painted on
The dungeon and wooden floor ones are nice, but the Micro Art Studios base just jumps out at you. I have ordered even more of their bases, their wastelands line specifically, for my demons.

Verdict: If you can afford these beauties, do so! Keep an eye on their site, new bases get added all the time.

woensdag 13 februari 2013

DIY: Low budget paint rack

You might know that feeling of 'I have soooo many paints, but no proper way to organise them'. I always have the feeling I lose hours of my life trying to find the proper color red in my stack of paints. This is probably exaggerated and might just be some of my latent OCD-ness or the likes.

Regardless I have looked at ways of organising my paints properly. I found some interesting options, the best looking being the paint rack line from Back-2-basix. Unfortunately it is quite expensive and I would need several racks to store all my paints. The shipping from australia is not helping, and although I found a company in germant that also stocks them, it just didn't quite do it for me.

I did not want to invest that much to store my paints. So I let the concept rest for a while, until I happened upon a blog that had a very simple solution: Foamcore paint rack!

I seem to have lost the link to this blog, bad, bad me, so I cannot credit the original writer. Regardless the credit goes there! The difference between my paint rack to be and his was that he was trying to store GW pots while I wanted to store Valejo dropper bottles.

First of all take some 5mm foamcore, available in your average craft store. I would not recommend going any thinner, it might not be able to keep the paints up. My recommendation would be to aim for 4 'levels' high and another 'level' on the ground before the rack.

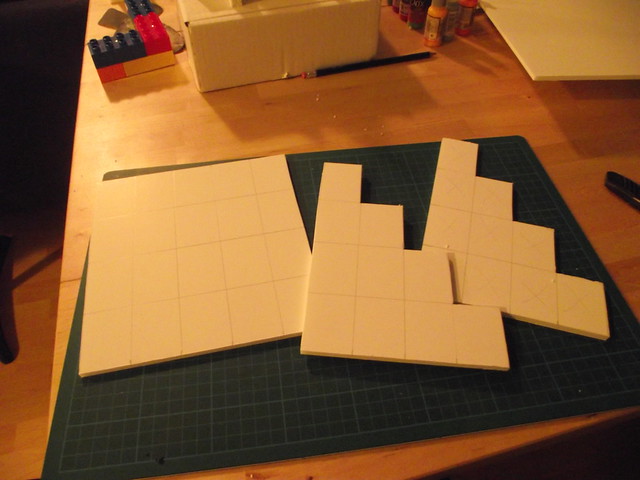
First draw out the 'stairs' like construction on the foamcore. Make sure the height is proper for the sort of paint bottles you want to hold. In my case that was 2" high and 1.5" wide.

Draw it out on foamcore
 
Now cut it all out. You should make 4 pieces, so you can use two on the sides and two on 1/3rd and 2/3rd 'in'.
Cut it all out like so
 
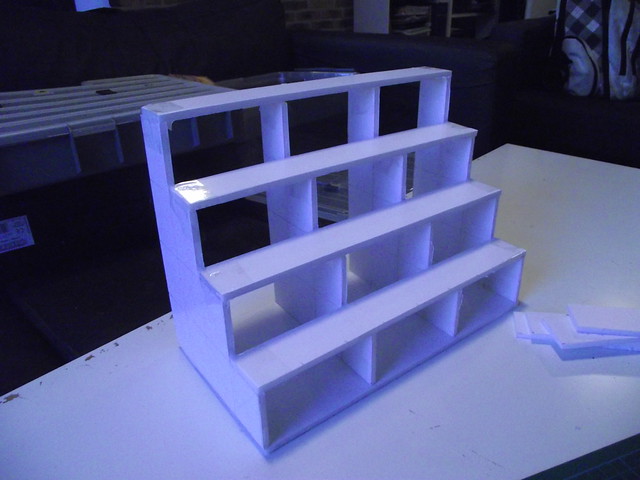
Now cut out strips the length that you want your rack to be. Don't make it too long, or it will collapse under the weight of the paint. Then glue it all together. Simple really. Make sure your glue dries, because I tried to put paint on it too quickly and the entire thing collapsed on me. Actually I recommend you strengthen the construction with some tape (which I did). I also based it on a sheet of foamcore for even more stability.
This is the result
 
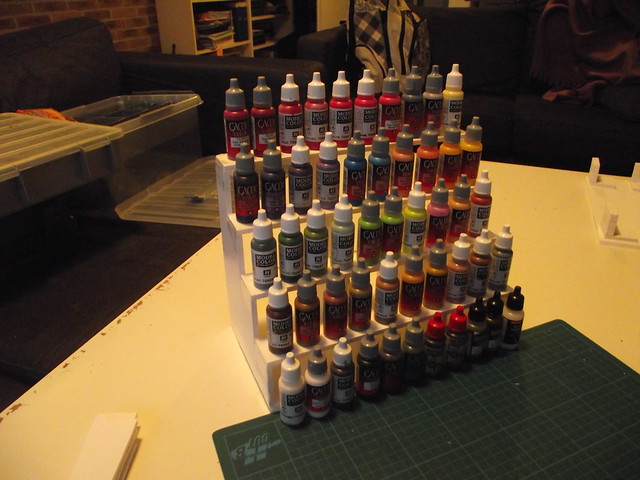
Leave it to strengthen overnight and afterwards it will hold about 50 bottles (in my case that is).
Success!
 
All setup!
 
Now I am going to need a second of these things... hmmm... *grabs more foamcore*