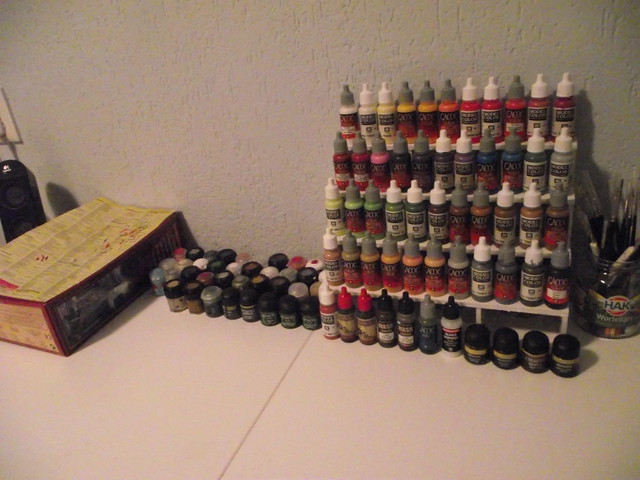
You might know that feeling of 'I have soooo many paints, but no proper way to organise them'. I always have the feeling I lose hours of my life trying to find the proper color red in my stack of paints. This is probably exaggerated and might just be some of my latent OCD-ness or the likes.
Regardless I have looked at ways of organising my paints properly. I found some interesting options, the best looking being the paint rack line from
Back-2-basix. Unfortunately it is quite expensive and I would need several racks to store all my paints. The shipping from australia is not helping, and although I found a company in germant that also stocks them, it just didn't quite do it for me.
I did not want to invest that much to store my paints. So I let the concept rest for a while, until I happened upon a blog that had a very simple solution: Foamcore paint rack!
I seem to have lost the link to this blog, bad, bad me, so I cannot credit the original writer. Regardless the credit goes there! The difference between my paint rack to be and his was that he was trying to store GW pots while I wanted to store Valejo dropper bottles.
First of all take some 5mm foamcore, available in your average craft store. I would not recommend going any thinner, it might not be able to keep the paints up. My recommendation would be to aim for 4 'levels' high and another 'level' on the ground before the rack.
First draw out the 'stairs' like construction on the foamcore. Make sure the height is proper for the sort of paint bottles you want to hold. In my case that was 2" high and 1.5" wide.
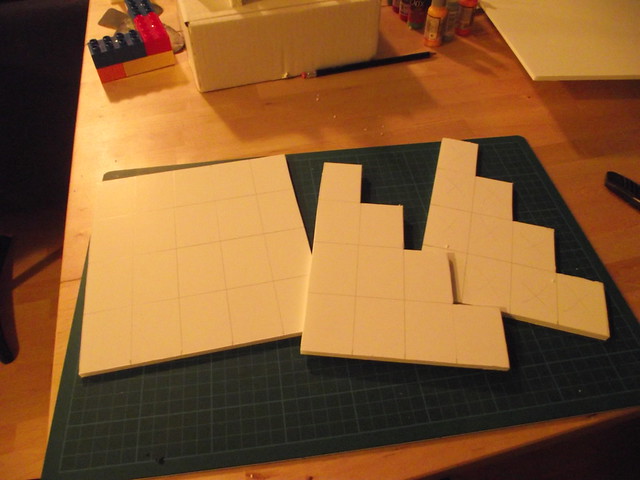
Draw it out on foamcore
Now cut it all out. You should make 4 pieces, so you can use two on the sides and two on 1/3rd and 2/3rd 'in'.
Cut it all out like so
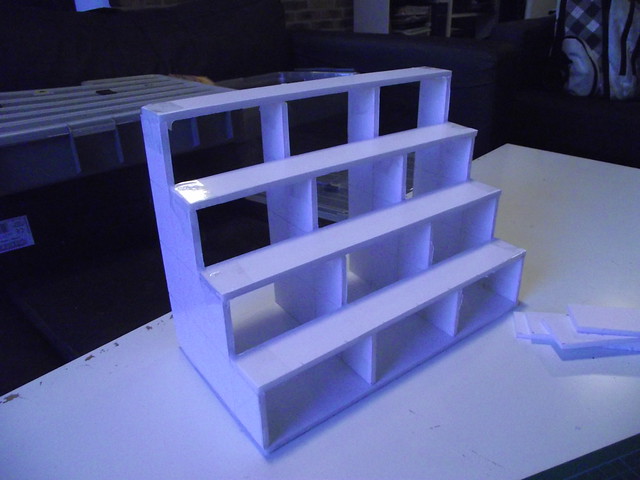
Now cut out strips the length that you want your rack to be. Don't make it too long, or it will collapse under the weight of the paint. Then glue it all together. Simple really. Make sure your glue dries, because I tried to put paint on it too quickly and the entire thing collapsed on me. Actually I recommend you strengthen the construction with some tape (which I did). I also based it on a sheet of foamcore for even more stability.
This is the result
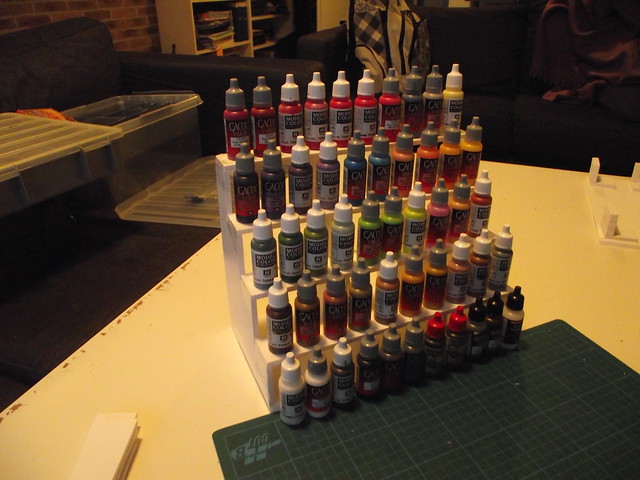
Leave it to strengthen overnight and afterwards it will hold about 50 bottles (in my case that is).
Success!
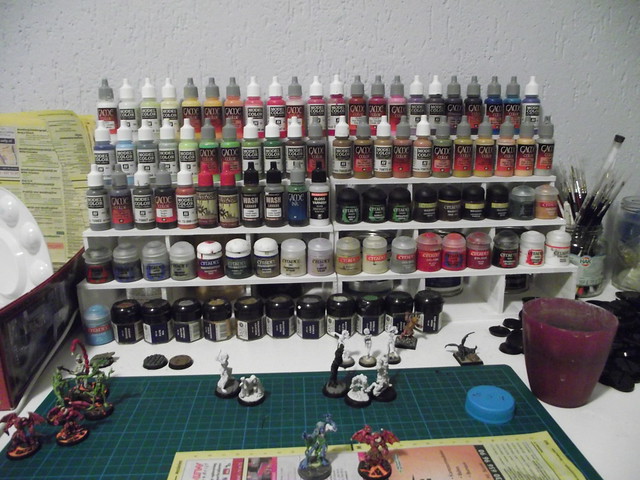
All setup!
Now I am going to need a second of these things... hmmm... *grabs more foamcore*